Dry Wall Mold Removal How-To Guide — Pure Maintenance Clackamas
Assess the Damage
Gather Your Supplies
Seal the Area
Apply Mold Removal Solution
Dry the Area
Inspect and Repair
How It Works
Dealing with mold in your dry walls can be a daunting task, especially for homeowners in Oregon City, Oregon, where humidity levels can contribute to mold growth. Mold not only poses health risks but can also compromise the structural integrity of your home. At Pure Maintenance Clackamas, we understand the importance of addressing dry wall mold promptly and effectively. This guide will take you through the essential steps for safely removing mold from your dry walls, ensuring that your home remains a safe and healthy environment. This comprehensive how-to guide is designed for homeowners who may be considering tackling this issue on their own or those who want to understand the process before contacting a professional service. Proper mold removal requires careful planning, the right tools, and safety precautions. Whether you find small patches of mold or extensive growth, our step-by-step instructions will help you navigate the complexities of dry wall mold removal, ensuring you can restore your home’s walls to a clean, mold-free condition.
Assess the Damage
Before proceeding with mold removal, it's essential to assess the extent of the damage. Inspect your dry walls for visible signs of mold, such as discoloration or a musty smell. Use a moisture meter to check for high humidity levels, which can indicate hidden mold. This initial assessment helps determine whether the mold is surface-level or if it has penetrated deeper, potentially requiring more extensive repair. If the mold covers a large area, consider contacting Pure Maintenance Clackamas for professional help.
Gather Your Supplies
Prepare your workspace by gathering all necessary supplies for the mold removal process. You will need safety gear such as gloves, masks, and goggles to protect yourself from mold spores. Additionally, gather cleaning solutions, such as a mixture of water and vinegar or commercial mold removers, along with sponges, brushes, and buckets. Having all your tools ready will streamline the process and ensure you are well-prepared to tackle the task efficiently.
Seal the Area
To prevent mold spores from spreading throughout your home during the removal process, seal off the affected area. Use plastic sheeting to cover doorways and vents, ensuring that air circulation is minimized. This step is crucial for maintaining a clean environment and protecting other areas of your home from potential contamination while you work on the mold removal.
Apply Mold Removal Solution
Using your chosen cleaning solution, apply it generously to the affected dry wall areas. Allow the solution to sit for a few minutes to penetrate the mold. Scrub the surface gently with a brush or sponge to remove the mold effectively. Ensure that you are working in a well-ventilated area and wearing your safety gear throughout this process. After scrubbing, wipe the area with a clean cloth to remove any remaining residue.
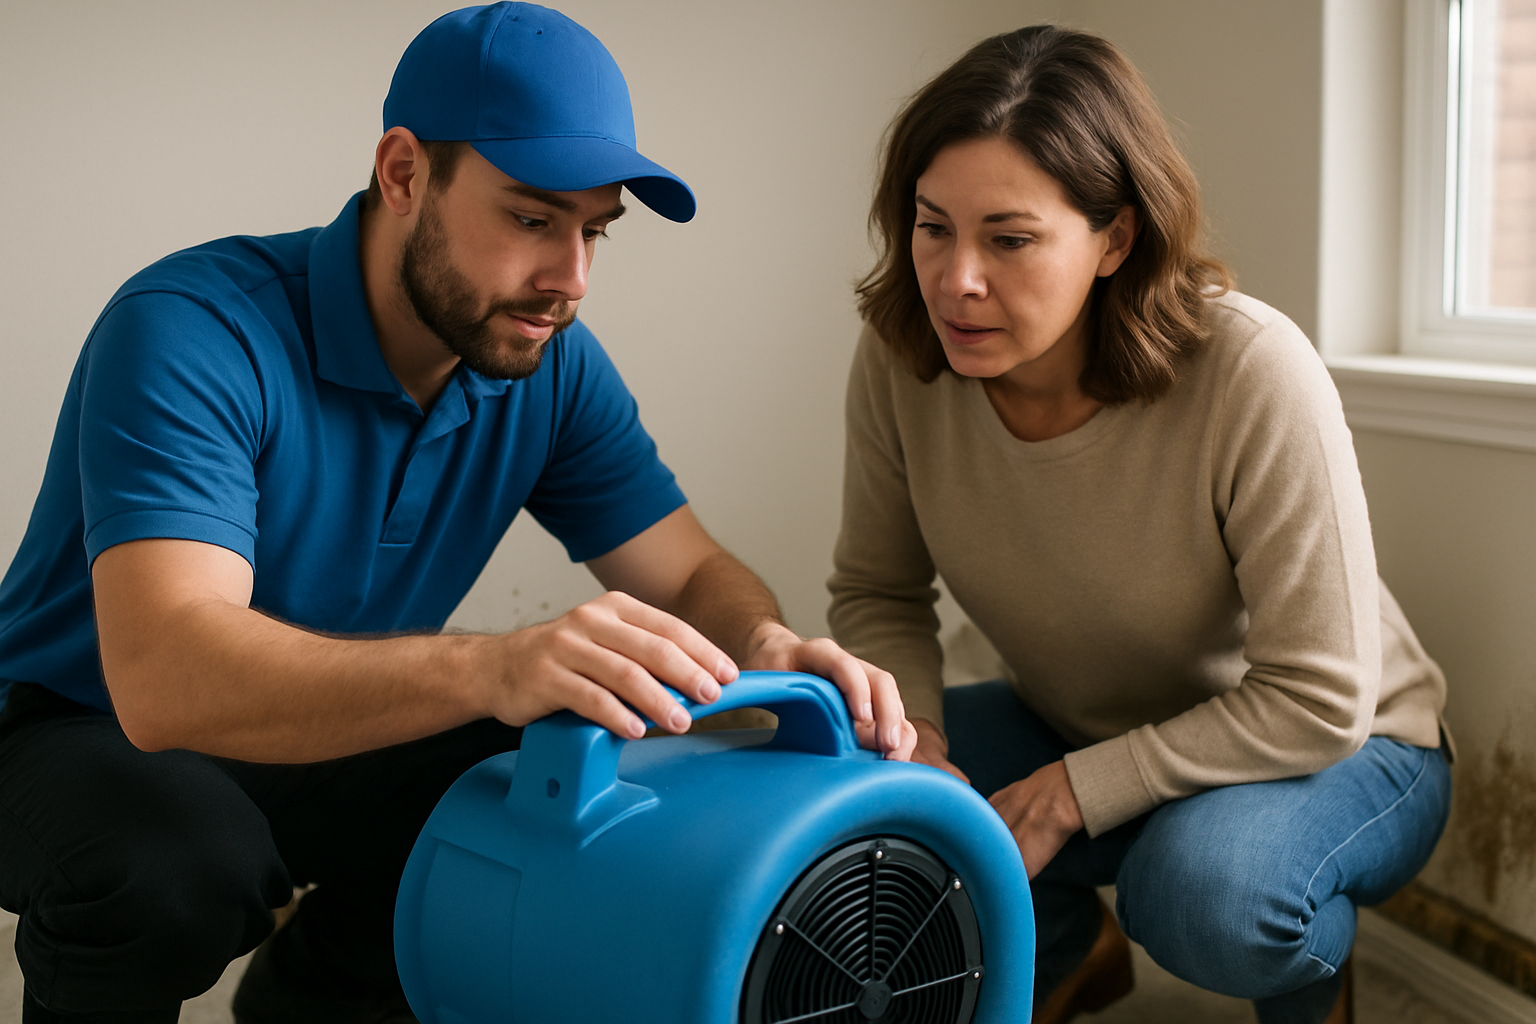
Dry the Area
After cleaning, it is crucial to dry the area thoroughly to prevent the mold from returning. Use fans or dehumidifiers to circulate air and reduce humidity levels. Make sure to keep the area well-ventilated during this drying process. Depending on the moisture levels and the size of the affected area, this step may take several hours to a day. Proper drying is essential in ensuring that all spores are eliminated and that the area remains mold-free.
Inspect and Repair
Once the area is completely dry, inspect the dry wall for any signs of damage that may need repair. If the mold has caused warping, discoloration, or deterioration, you may need to replace sections of the dry wall. Use a joint compound to patch any holes or imperfections. Ensure that you follow up with painting or sealing the repaired areas to enhance durability and prevent future mold growth.
Prevent Future Mold Growth
To avoid mold recurrence, implement preventive measures such as controlling humidity levels in your home. Use dehumidifiers and maintain proper ventilation in areas prone to moisture, such as bathrooms and kitchens. Regularly inspect your dry walls and other surfaces for early signs of mold. By taking these proactive steps, you can help ensure a mold-free environment in your Oregon City home.
What to Expect & When
We believe in full transparency. Here's a realistic timeline so you can plan accordingly.
Assessment and Preparation
1 dayAssess the extent of the mold damage and gather necessary supplies. This phase includes sealing the area to prevent mold spores from spreading.
Cleaning Process
1-2 daysApply cleaning solutions, scrub the affected areas, and allow sufficient time for drying to ensure mold spores are eliminated.
Repair and Restoration
1-2 daysInspect the dry wall for damage and make necessary repairs. This phase may include patching and painting to restore aesthetics.
Preventive Measures
OngoingImplement ongoing preventive measures to control humidity and monitor for mold reoccurrence in the future.
How to Prepare
- Ensure the area is well-ventilated before starting the removal process.
- Remove any furniture or items from the affected area to create a safe workspace.
- Check local regulations regarding mold removal, as certain situations may require professional intervention.
- Consider having a moisture meter on hand to monitor humidity levels before and after the removal.
- Familiarize yourself with safety protocols for handling mold to protect your health.
Common Questions
Everything you need to know before we arrive.
How can I tell if I have mold in my dry walls?
Is it safe to remove mold from dry walls myself?
What cleaning solutions are effective for mold removal on dry walls?
How long does it take for mold to return after removal?
What are the health risks associated with mold exposure?
Still have questions? We're happy to help.
Call 503-563-8828The Importance of Professional Mold Removal
While many homeowners may attempt DIY mold removal, the importance of professional assistance cannot be overstated. Professionals like Pure Maintenance Clackamas have the expertise, tools, and knowledge to effectively eliminate mold from dry walls and prevent future infestations. Our advanced techniques ensure that mold is not only removed but also that the underlying causes, such as moisture or poor ventilation, are addressed. This approach leads to a healthier home environment and reduces the likelihood of recurring mold problems. Moreover, professional services come with warranties, giving homeowners peace of mind that the issue has been handled correctly. In Oregon City's humid climate, relying on experts can save you from further complications and potential health risks associated with mold exposure.
Preventing Mold Growth in Your Home
Preventive measures are key to keeping your Oregon City home mold-free. After successfully removing mold from your dry walls, it is vital to implement strategies that limit moisture and humidity. Regularly use dehumidifiers, especially in areas prone to dampness, like basements and bathrooms. Ensure that your home is well-ventilated by opening windows and using exhaust fans when cooking or showering. Additionally, check for leaks in pipes and roofs, as these can introduce moisture that encourages mold growth. By maintaining a dry and well-ventilated environment, you can significantly reduce the chances of mold returning to your dry walls. Staying proactive not only protects your home’s structure but also safeguards the health of your family.
Ready to Get Started with Pure Maintenance Clackamas?
Our licensed technicians serve Oregon City and surrounding communities. Free estimates — no obligation.